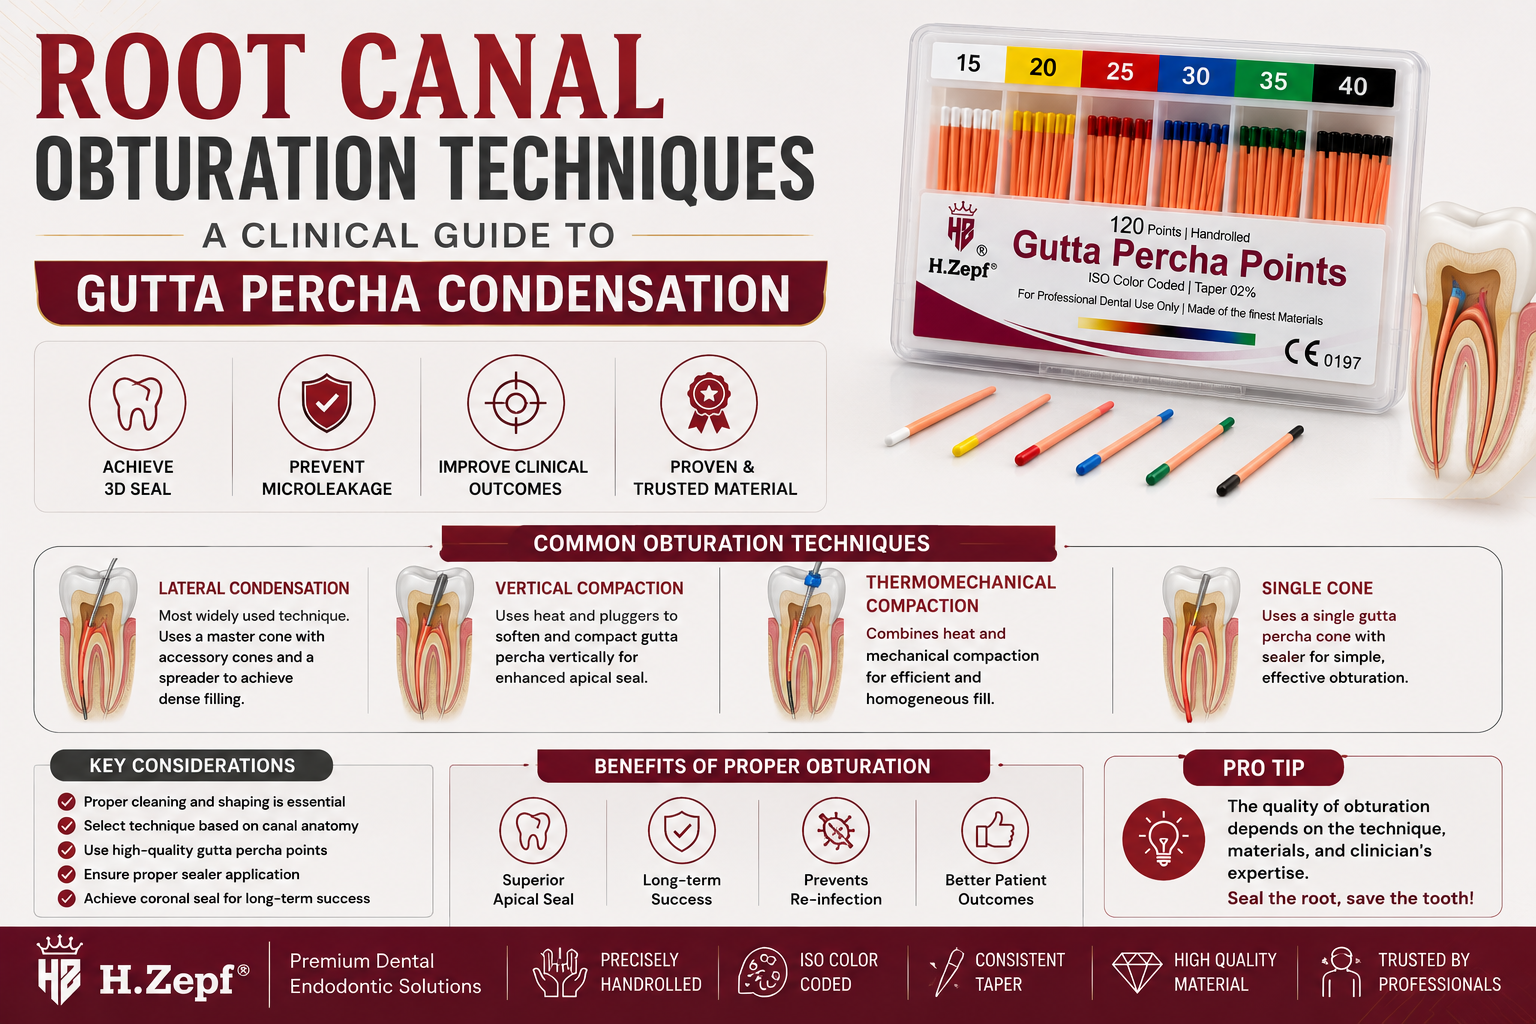
Root Canal Obturation Techniques — A Clinical Guide to Gutta Percha Condensation
Obturation is the final and arguably most critical step in root canal treatment. No matter how well the canal has been cleaned and shaped, a poorly condensed fill can lead to reinfection, treatment failure, and the need for retreatment. Gutta Percha condensation — the technique used to compact and seal the Gutta Percha Points within the root canal — is a skill that every endodontist and general dentist performing root canal treatment must master.
In this clinical guide, we cover the most widely used Gutta Percha condensation techniques, step-by-step protocols, common errors, and practical tips to achieve predictable, hermetic canal seals every time.
Why Obturation Quality Matters
The goal of obturation is to completely fill the root canal system — including all lateral canals, isthmuses, and apical ramifications — with an inert, biocompatible material that prevents bacterial recolonization. A well-obturated canal shows:
- Dense fill from coronal orifice to within 0.5–1mm of the radiographic apex
- No voids or gaps in the fill on radiograph
- Minimal sealer — Gutta Percha should fill most of the space
- No extrusion of material beyond the apex
Technique 1: Cold Lateral Condensation
Cold lateral condensation is the most widely taught and practiced obturation technique globally. It has stood the test of time and remains the gold standard for teaching endodontic obturation in dental schools.
Step-by-Step Protocol
- Select master cone — choose a Gutta Percha Point matching your final file size and taper. For a canal prepared to #25 .02 taper, select a #25 .02 taper GP Point.
- Confirm fit — insert the master cone to working length. You should feel a "tug-back" resistance when you try to withdraw it. If it slides freely, the cone is too small.
- Take cone fit radiograph — verify the master cone is within 0.5mm of working length on the periapical radiograph before proceeding.
- Dry the canal — use Absorbent Paper Points to dry the canal completely. Change paper points until they come out completely dry.
- Apply sealer — coat the canal walls with a thin layer of root canal sealer using a lentulo spiral or paper point. Also coat the apical third of the master cone.
- Insert master cone — place the master cone to working length.
- Spread and add accessory cones — insert a finger spreader alongside the master cone, creating space. Remove the spreader and immediately insert an accessory Gutta Percha Point (#15 or #20) into the space created. Repeat this process until the spreader can only penetrate 3–4mm into the canal.
- Sear off and condense — use a heated instrument to sear off the Gutta Percha at the orifice level. Vertically condense the remaining material with a plugger to seal the orifice.
- Take final radiograph — verify complete fill from coronal to apical.
Tips for Successful Cold Lateral Condensation
- Always pre-curve the master cone for curved canals before insertion
- Use finger spreaders rather than D-11 spreaders in curved canals to reduce the risk of root fracture
- Keep spreader in place for 30–60 seconds before removing — this allows the Gutta Percha to deform and maintain the space for the accessory cone
- Work from apical to coronal — fill the apical third first, then build coronally
- Never force the spreader — if resistance is felt, use a smaller size
Technique 2: Single Cone Obturation
Single cone obturation has become the most commonly used technique in modern endodontic practice, driven by the widespread adoption of rotary NiTi instrumentation. When the canal is prepared with a matched-taper rotary system, a single Gutta Percha Point fills the canal precisely without the need for accessory cones.
When Is Single Cone Appropriate?
- Canal prepared with rotary NiTi files (.04 or .06 taper)
- Matched-taper GP Point used (e.g., #25 .06 taper cone for #25 .06 preparation)
- Excellent tug-back confirmed at working length
- Single straight or gently curved canal
Step-by-Step Protocol
- Select GP Point matching final rotary file size and taper exactly
- Confirm tug-back at working length — this is critical for single cone technique
- Take cone fit radiograph
- Dry canal thoroughly with Paper Points
- Apply bioceramic sealer (preferred for single cone) to canal walls
- Insert master cone to working length
- Sear off at orifice and compact
- Radiographic verification
Advantages of Single Cone Technique
- Significantly faster than lateral condensation
- Less stress on the root — no lateral spreading forces
- Excellent results when matched to rotary preparation
- Works exceptionally well with bioceramic sealers
Technique 3: Warm Vertical Compaction
Warm vertical compaction (also known as the continuous wave technique) uses heat to soften the Gutta Percha, allowing it to flow into lateral canals and apical ramifications that cold techniques cannot reach. It is the most thorough technique for filling complex root canal systems.
Equipment Required
- Heat carrier (System B, Elements obturation unit, or similar)
- Pluggers in various sizes
- Non-standardized Gutta Percha Points (for backfill)
- Endodontic sealer
Basic Protocol
- Select and confirm master cone fit as described above
- Apply sealer to canal walls
- Insert master cone to working length
- Use heated carrier to cut and compact the coronal portion
- Use pluggers to vertically compact the softened apical plug
- Backfill with injectable Gutta Percha or additional GP cones
Common Obturation Errors and How to Avoid Them
| Error | Cause | Prevention |
|---|---|---|
| Short fill | Master cone not at working length | Always confirm with radiograph before obturation |
| Voids in fill | Inadequate condensation or too much sealer | Use less sealer, condense more thoroughly |
| Overextension | Excessive apical pressure | Confirm working length; do not force cones |
| Separated cone | Pulling cone while spreader in place | Always remove spreader before withdrawing cones |
| Wet canal | Insufficient drying | Use multiple paper points until bone dry |
Choosing the Right Gutta Percha Points for Obturation
The quality of your Gutta Percha Points directly affects obturation quality. Key properties to look for:
- Dimensional accuracy — tip diameter must match stated ISO size precisely
- Flexibility — must bend without fracturing in curved canals
- Tack — slight surface tack helps retain sealer coating
- Radiopacity — must be clearly visible on periapical radiograph
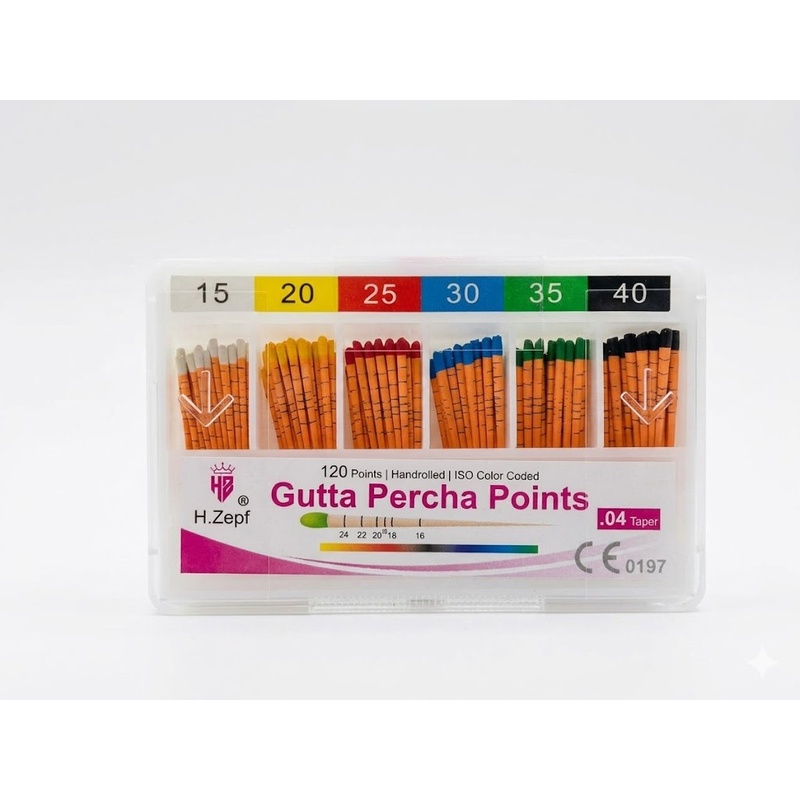
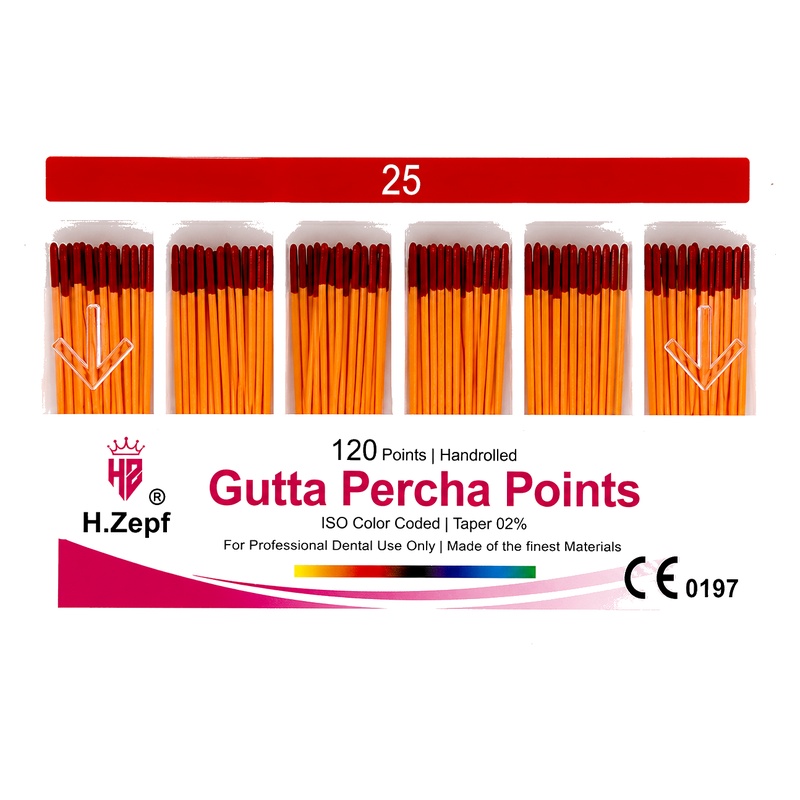
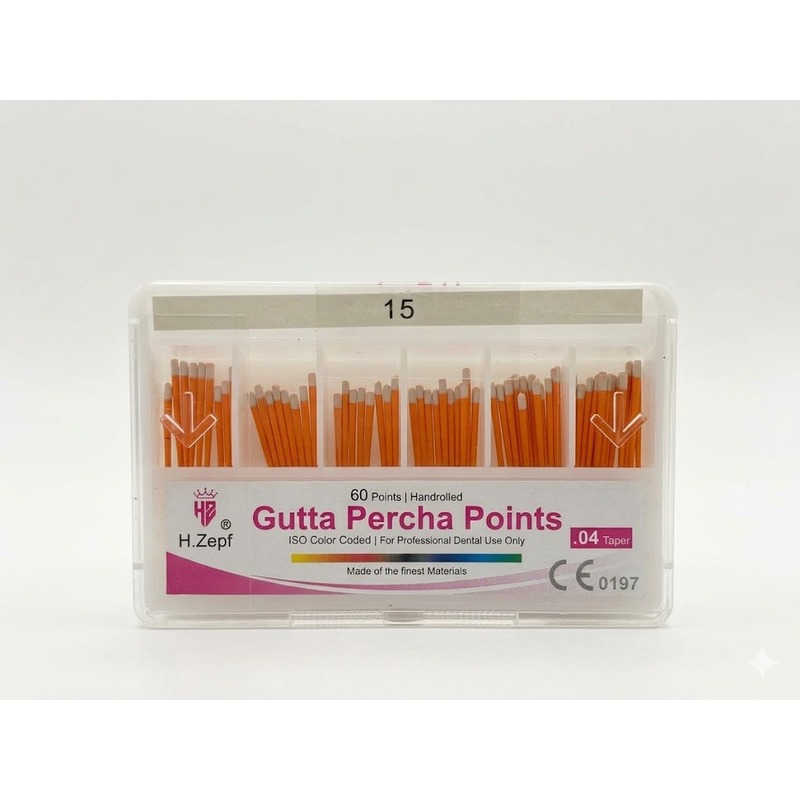
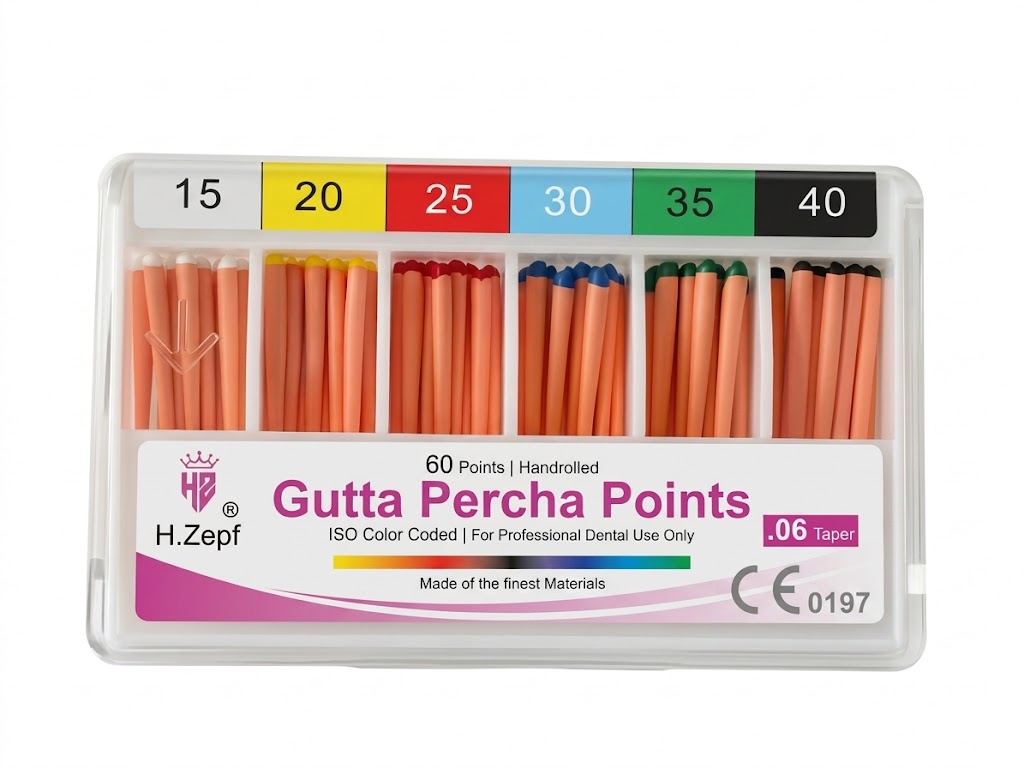
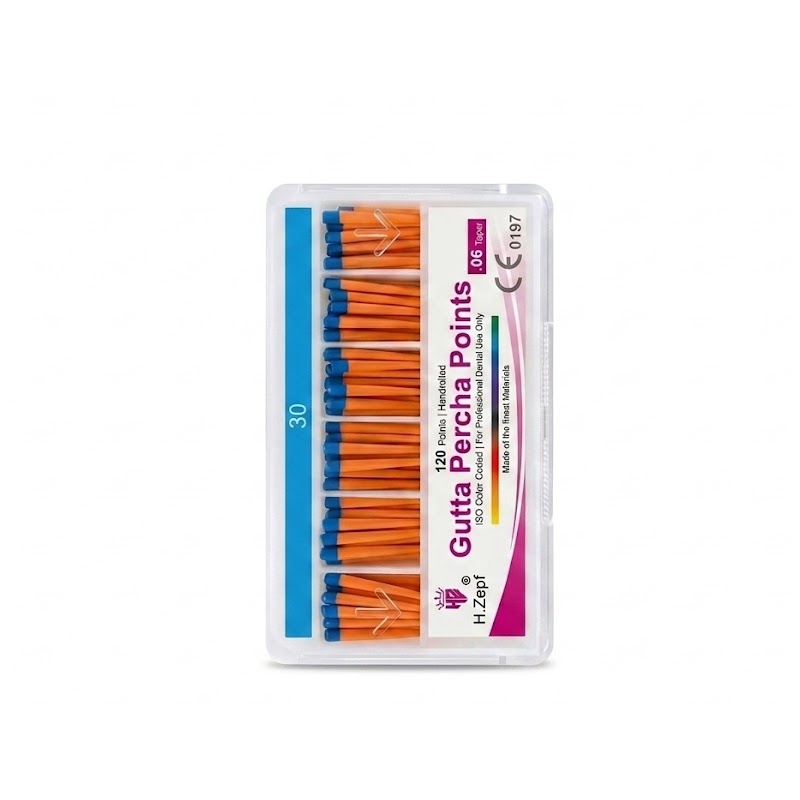
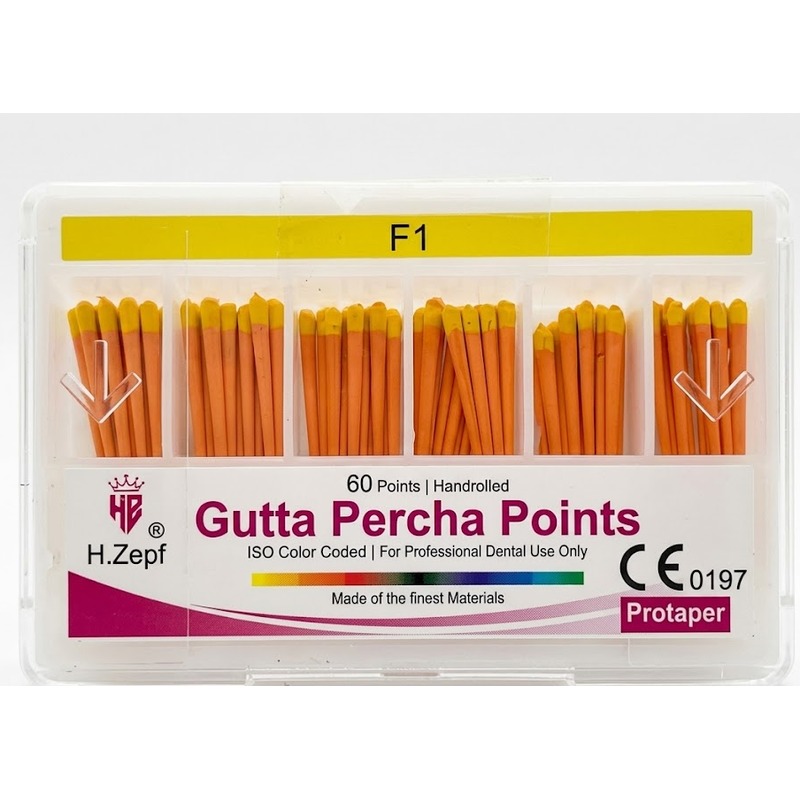
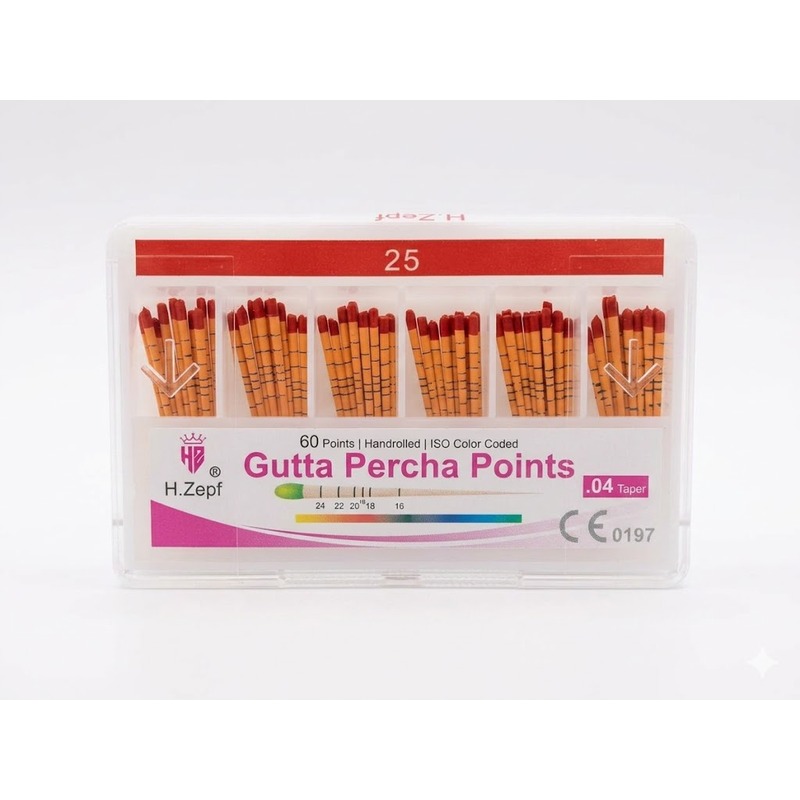
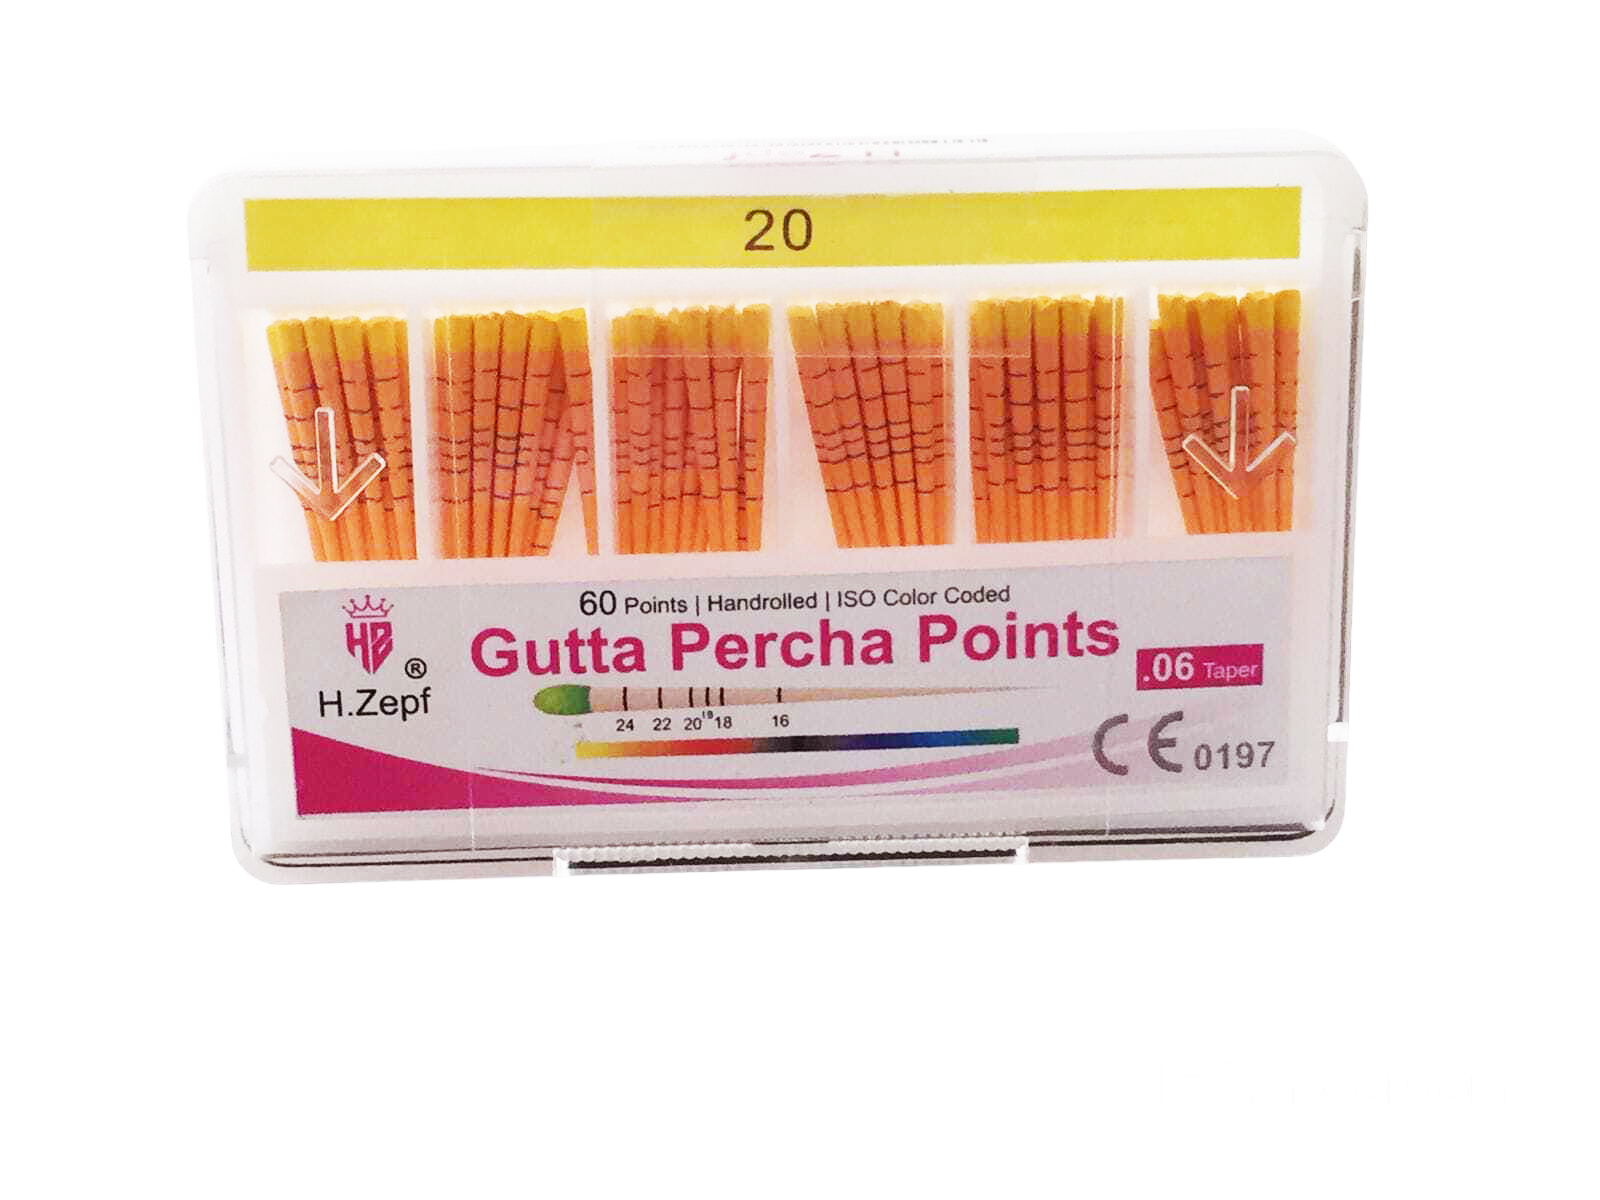
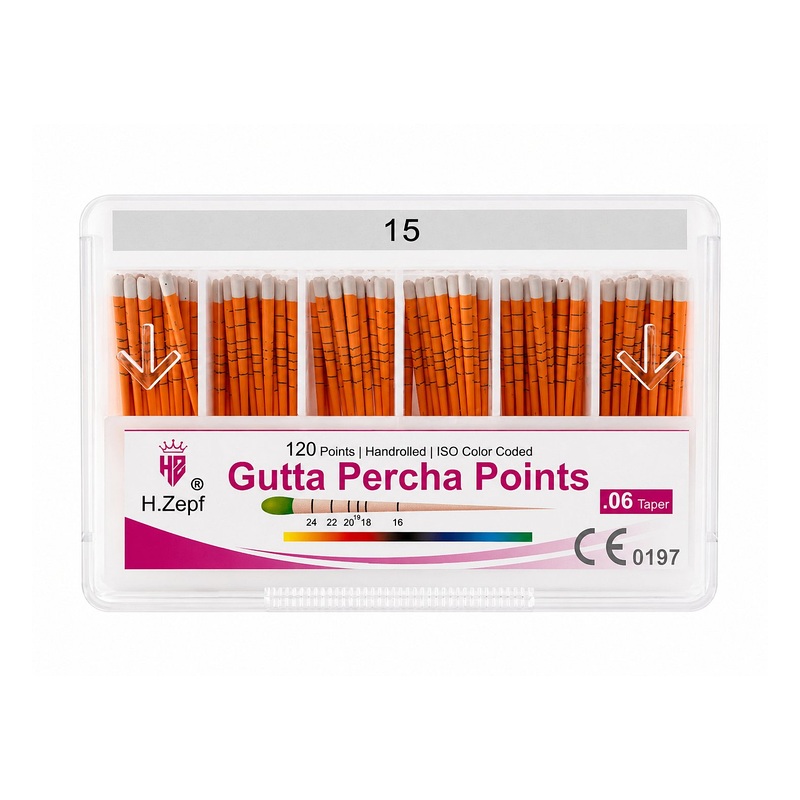
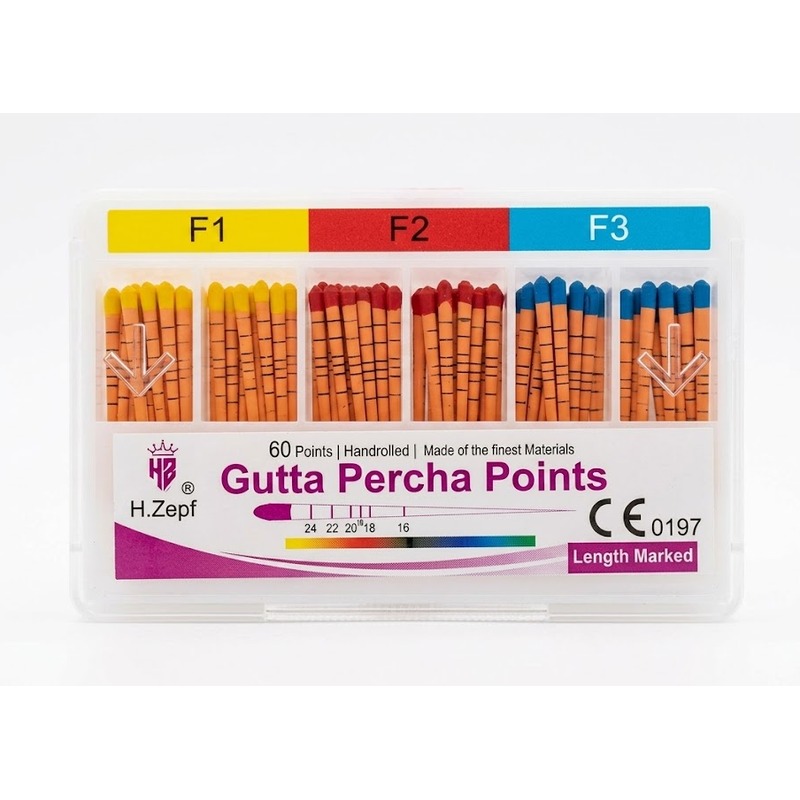
H.Zepf Gutta Percha Points are available in .02, .04, and .06 taper across all ISO sizes, in both marked and unmarked variants — giving you the right tool for every obturation technique.
Browse our complete range of Gutta Percha Points or WhatsApp us for bulk pricing.